Owner & setup
Owner setup
First-day checklist for the owner — gym profile, membership rules, check-in rules, money and portal settings, branches, staff logins and roles, and the audit log
Who it is for:OwnerManager
This chapter is for the owner (and the manager, who can change most settings). Work through it once when the gym starts on GymDesk; after that you only come back when something changes.
Checklist for the first day
- Settings › Gym profile: name, phone, address — they are printed on receipts, member cards and the member portal.
- Settings › Memberships and Check-in: admission fee, grace days, when a membership counts as expiring, and whether the desk refuses expired members or members with dues.
- Branches: rename "Main branch" and add your other branches.
- Packages: your own membership and PT prices (see Packages).
- Users & roles: a login for every manager, front-desk person and trainer.
- Trainers: a trainer profile for every trainer, linked to their login (see Personal training and trainers).
- Integrations: the SMS gateway, so members get welcome messages, receipts, PINs and renewal reminders (see SMS and WhatsApp).
- Add your members (see Members) and print their QR cards.
Settings
Open Settings in the sidebar. At the top are buttons to the other admin pages: Branches, Users & roles, Packages, Integrations, Online payments, AI assistants (MCP) and My password. Below them is the Subscription card (your plan and when it renews or expires) and the Licence & features card (see Licence, online payments and AI).
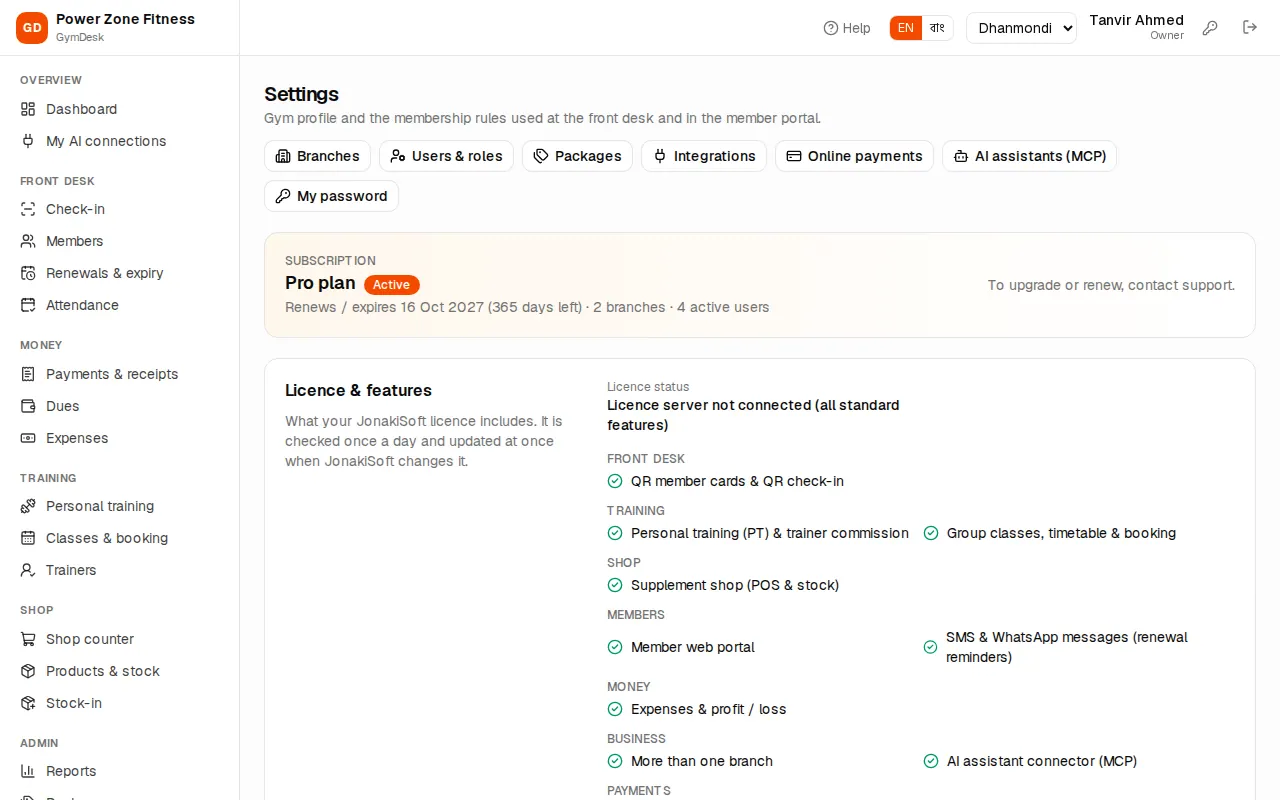
Each card has its own save button.
Gym profile — "Printed on receipts, member cards and the member portal." Gym name, Gym name in Bangla, Type of business, Phone, Email, Trade licence no., VAT registration (BIN), Website and Address. Press Save profile.
Memberships:
- Admission fee (৳) — charged with a member's first membership. A package can set its own fee (for example a day pass with no admission fee).
- Grace days — after the end date the member may still come in (with a yellow GRACE PERIOD flag), and a renewal continues from the old end date, so the member keeps their cycle.
- Expiring soon (days) — used for the "expiring this week" list, the dashboard tile and the check-in warning.
Check-in — what the front desk screen does when a member is expired or owes money. Staff can always let someone in; it is recorded.
- Refuse expired members — after the grace days the screen shows a red EXPIRED block.
- Refuse members with dues — off means dues are shown as a warning only.
Money:
- Front desk discount limit (%) — the largest discount a front-desk user may give on a membership. Bigger discounts need a manager.
- Receipt footer — a line printed at the bottom of every money receipt (for example your refund policy).
Member portal & class booking:
- Member portal — members see their plan, dues, attendance, PT sessions and QR code, and pay online.
- Members may book classes, Booking opens (days ahead) and Members may cancel until (hours before).
Language — the Default language everyone sees until they pick their own.
SMS & WhatsApp — a shortcut: Open Settings → Integrations. Only the owner can change the SMS gateway.
Press Save settings at the bottom to save the memberships, check-in, money, portal and language cards.
Branches
Each branch has its own check-in desk, cash, shop stock and class timetable. Members, packages and trainers are shared.
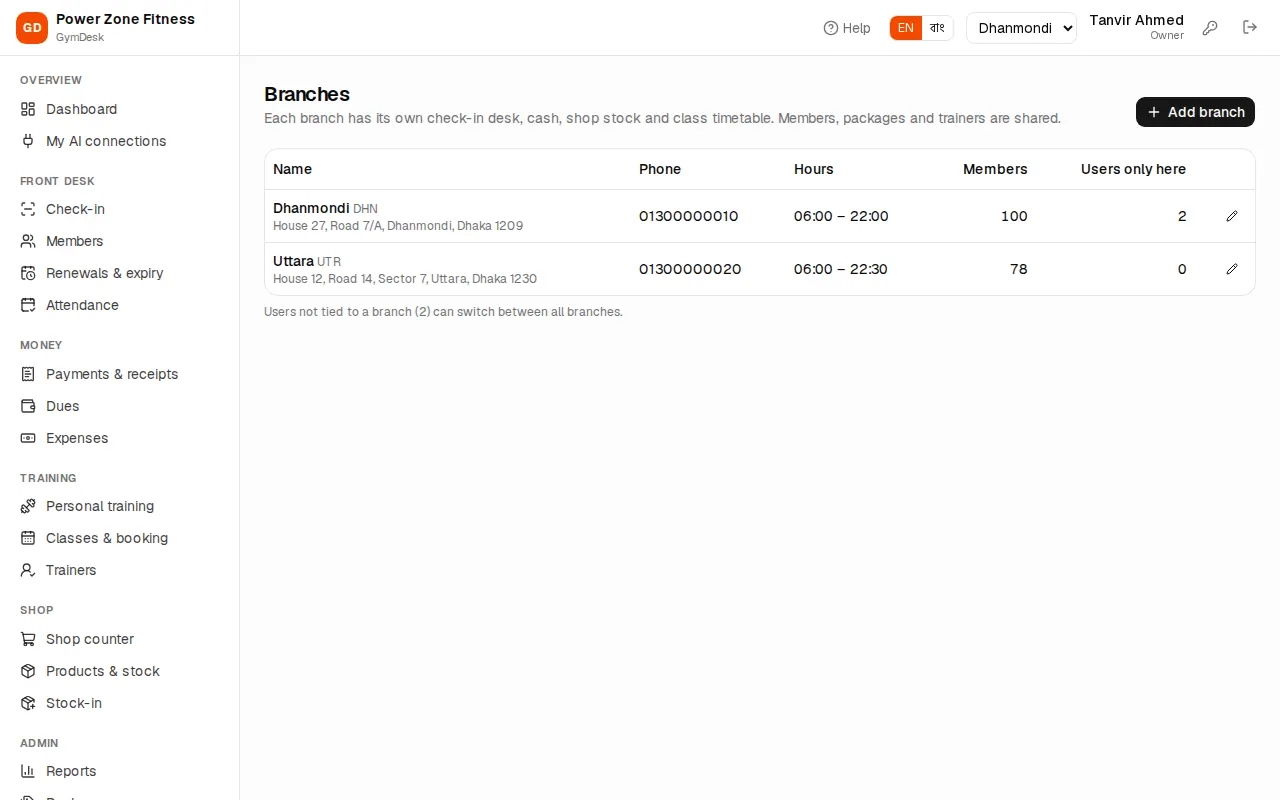
- Open Branches (sidebar, or the button on Settings).
- Press Add branch.
- Enter Name (for example "Uttara"), Code (2–6 letters, used in numbers), Phone, Opens and Closes, and Address.
- Press save.
To rename or close a branch press Edit on its row. Untick Active to close it: "Closed branches disappear from the branch switcher." The list shows each branch's hours, how many members call it home and how many users are tied to it.
Staff logins and roles
Only the owner can open Users & roles.
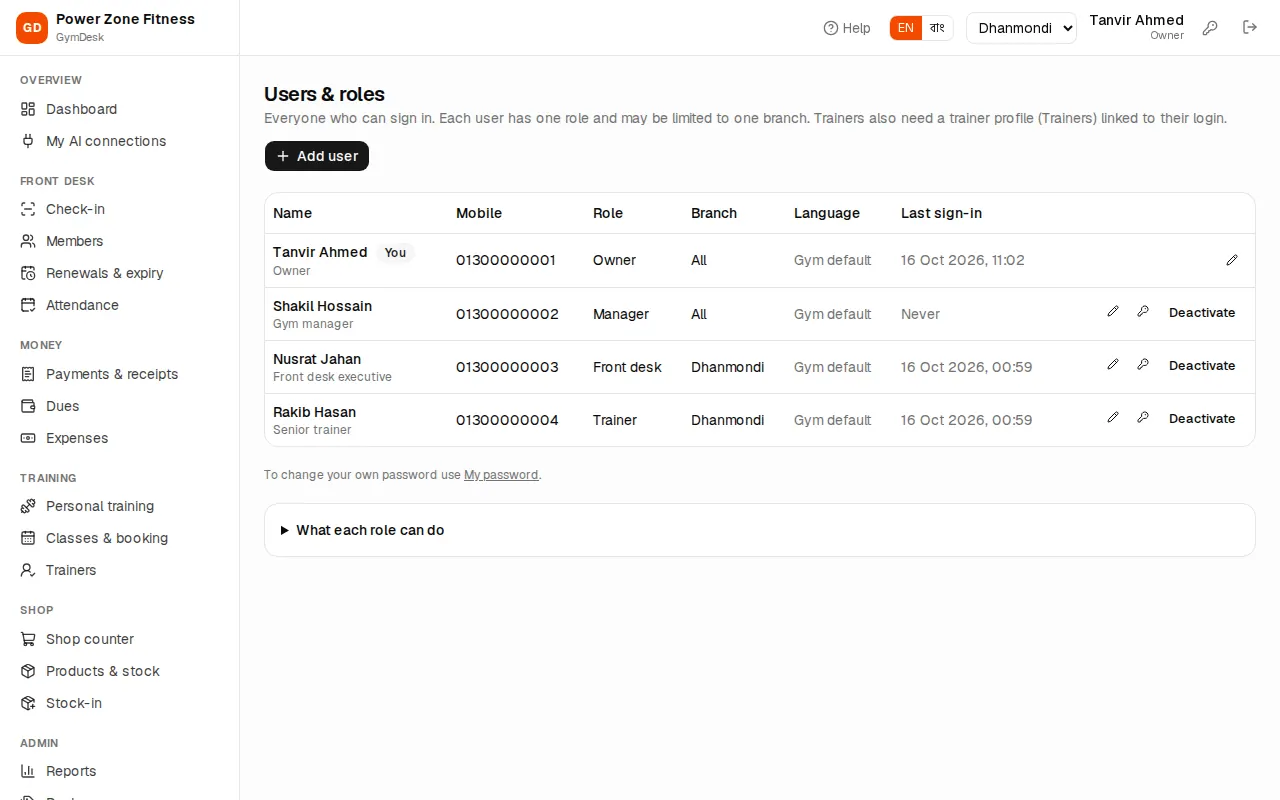
- Press Add user.
- Enter Full name and Mobile (login) — the person signs in with this number. Email is optional.
- Pick the Role: Owner, Manager, Front desk or Trainer (see What each role sees).
- Branch: All branches, or one branch to restrict the user to it.
- Language (blank = the gym default) and Designation (for example "Front desk executive").
- Password: at least 6 characters. Share it with the user privately.
- Press save. "User created" appears.
On each row:
- Edit — change name, role, branch, language or designation.
- Set password — give a new password when someone forgets theirs. "Password changed; the user is signed out everywhere."
- Deactivate / Activate — a deactivated user cannot sign in and is signed out at once. Use this when someone leaves; their history stays.
At the bottom, What each role can do lists every permission and which roles have it.
Audit log
Audit log (owner and manager) records who did what and when: members, memberships, payments, voids, check-in overrides, settings, users and more.
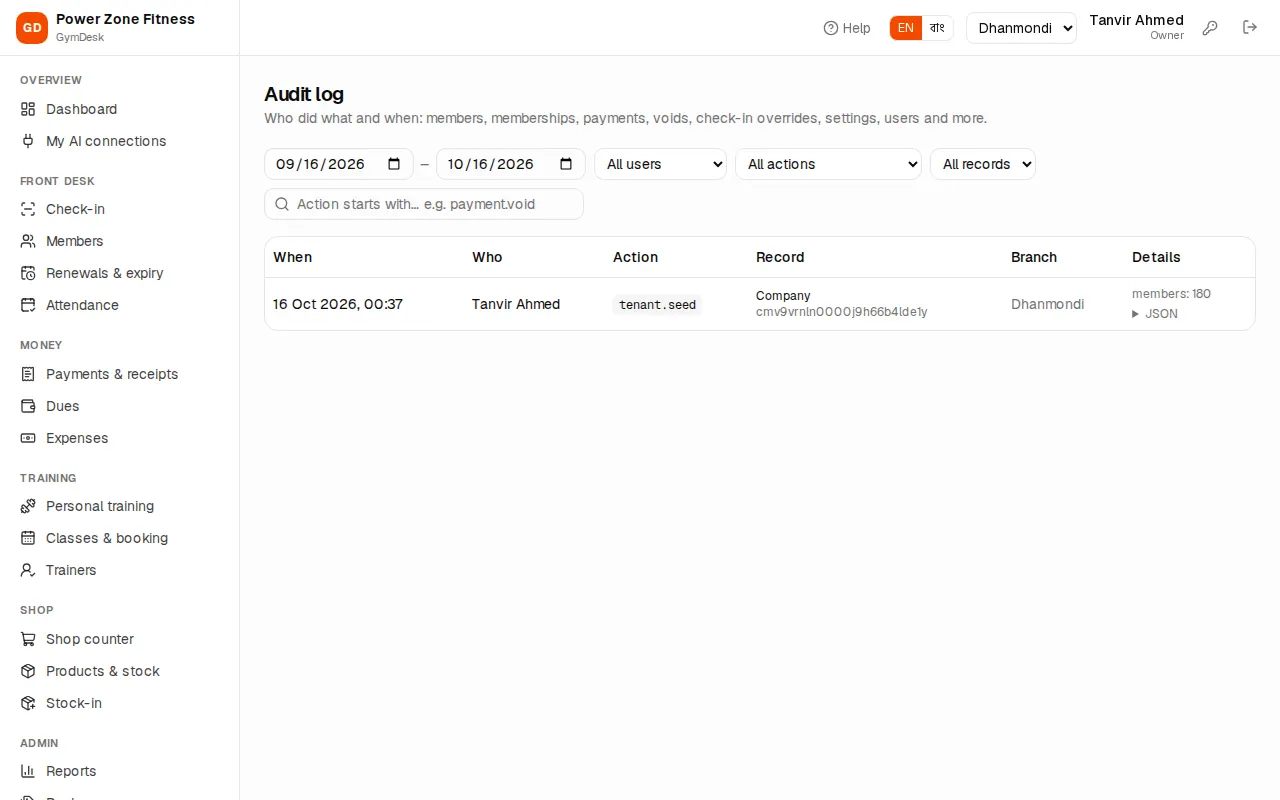
- Filter by date range, All users, All actions (groups such as payments or memberships) and All records.
- Type the start of an action in the search box, for example
payment.void, to see every voided receipt. - Click a record id to see All activity on this record, for example everything done to one member.